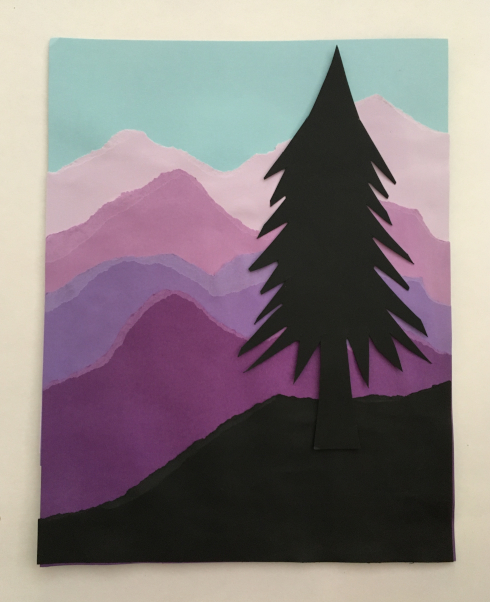
Making torn paper mountains is a fun, really easy artwork you can do with kids of almost any age (or even adults!).
Supplies:
Different color paper
Glue
Scissors (optional, for second part).
You
will need different shades of paper. In mine I used different shades of purple cardstock, plus black for silhouettes in the front and a blue background. Shades of green or blue look nice too, or you
can also do this with multiple colors of paper, or even patterned paper, for a different look.
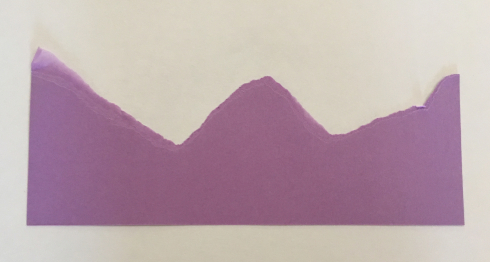
First, tear the paper in a zig-zag or wave pattern to make mountains.
Before gluing anything down, you might want to suggest your kids figure out what order they want their mountains in.
While it seems obvious, as adults, that you have to glue the mountains in the background first, you may need to explain that to your children. I've done this with two groups of kids now, and I notice little kids often start by gluing the mountain in the foreground, even though that needs to go over the the other mountain.
Also, if you are going to add trees (see below) decide if you want any between your mountains before gluing.
OPTIONAL - ADD A TREE
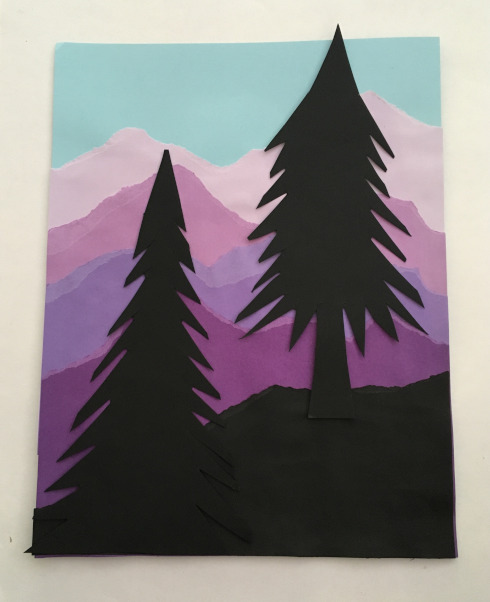
The mountains on their own look beautiful, but if you want you can add a silhouette of a tree, or a few trees, like the ones I cut out here.
Here are several arrangements I tried of my trees...I encourage kids to move around their pieces and find the way they would like them to be placed before gluing.


This looks like a lot of fun! We will have to try it out.
ReplyDeleteThanks! Hope your kids enjoy it!
Delete